Getting Great Soccer Action Shots From The Sideline
Carey Schumacher is a highly successful professional photographer who specializes in sport and outdoor family photographer. Schumacher’s work has been featured on Fox San Diego, NBC 7/39 San Diego, San Diego’s CW and she has been a columnist on SoccerToday News since 2010.
How often do you take pictures from the sidelines only to be disappointed with fuzzy images? Ever scan through professional photo books at youth soccer tournaments and wonder why their shots are better? Here are tips from professional photographer Carey Schumacher who has photographed tons of professional soccer players.
You’re not giving up your day job to pursue a career as the next great photographer of Sports Illustrated or ESPN Magazine — you just want to capture great shots of your kids and their teammates. I’ve been a professional photographer for over ten years, shooting family portraits, events, and professional sports across the country. Here is a six-pack of basic tips for soccer moms and soccer dads who want to get great action shots from the soccer sidelines.
Step 1: THE CAMERA
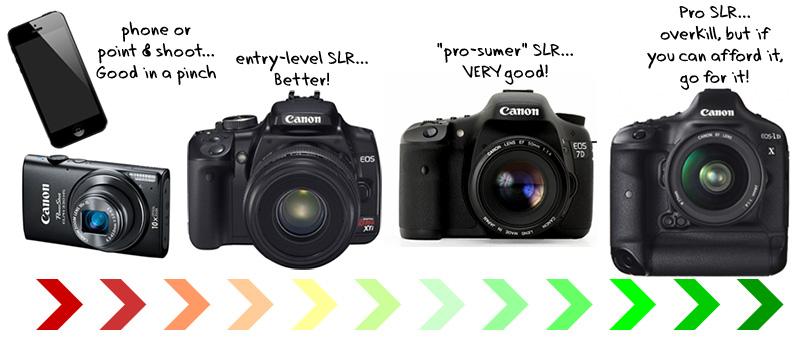
You need a digital “SLR” camera. A “point and shoot” camera or your phone’s camera will not get the job done.
SLR cameras do not have the infuriating shutter delay that comes with a “point and shoot” camera, plus the SLR optics, lenses, and quality just can’t be duplicated in a point and shoot. Most professional sports photographers use Canon, and so do I, but you can get great images from a Nikon or a Sony as well. You can spend as little as $500 or you can drop thousands of dollars. Spend as much as you can afford and still have money left over for step #2:
Step 2: THE LENS
The lens is just as important as the camera! The little plastic “kit” lens that comes with a lot of SLR cameras is NOT good enough. Let your kid practice juggling with it — that’s a much better use for that chunk of plastic.
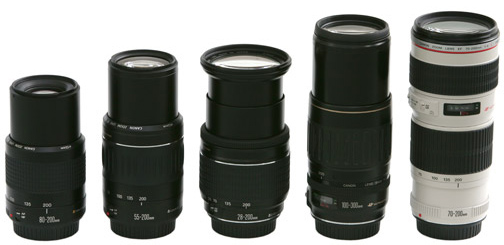
When you’re buying a lens, you’ll see a lot of numbers, like this: “70-200mm f/2.8.” That “70-200mm” is how far the lens can zoom. In order to get decent shots of the action during a soccer game, you’re going to need a zoom lens that goes up to 200mm AT LEAST! 300mm or more would be even better.
That second number (f/2.8) is how wide the lens can open up to let light into the camera, and LOWER NUMBERS are better! You’ll see some lenses that say something like this: “f/4-5.6.” That means the camera can use the f/4 number when you’re not zooming, but when you zoom, your lens will only be able to use f/5.6. That’s not bad, but it’s a lot better to buy a lens that just has ONE f/number. A single f/number is a sign of a high quality lens — the kind you see on the sidelines in the hands of Sports Illustrated photographers.
You’ve got the camera and the lens ready, now on to Tip #3:
Step 3: CAMERA SETTINGS
If your camera has a little running man “action” setting, you can use that. The camera will choose all the settings for you.
If you want to be more in charge of the camera settings, learn how to set the shutter speed, ISO, drive mode, and focus mode.
That’s advanced stuff, but here’s the short version of the settings you’ll want to use:
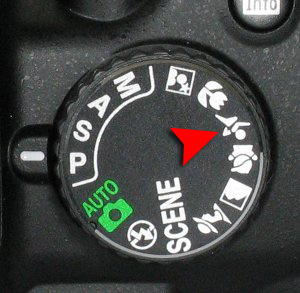
Shutter speed: Set the camera to “Tv” (Canon) or “S” (Nikon & Sony) and dial in at least 500. Higher is better for action shots. Sometimes I go as high as 1250.
ISO: The LESS light you have, the HIGHER the ISO you need.
Drive mode: use the continuous shooting mode, high speed.
Focus mode: set the camera to “Continuous” or “AI Servo” (not “single” or “one shot”)
Step 4: WARM UP!
Your kids warm up before every game. You need to warm up, too.
Take pictures during warmups!
You can get some great shots during warmups — especially of goalies and teammates that may not get a lot of playing time.
Try to shoot from an angle where you don’t see a lot of teammates standing around in the background, so it looks like game time action.
Step 5: TIMING THE SHOT
Your camera takes a lot of frames per second, but you can’t use that as a crutch, hoping that the camera will get the great shot for you.
The number one rule of perfect timing for sports photography is SHOOT EARLY! You have to get into the habit of pressing that shutter button SOONER than what your instinct tells you to do. Warm-ups really come into play here — you have to get used to this before every game, so you get into that “shoot early” groove!
For baseball shots, (ask any SI baseball shooter) the coveted shot is “bat on ball.” It’s VERY hard to get, but that’s the “money shot” that every baseball shooter is going for — with the hitter’s bat right there on the ball. For soccer, though, the “foot on ball” shot isn’t necessarily the money shot. Many times, the player’s posture right at the moment of impact isn’t very flattering. In fact, it can look downright awkward:

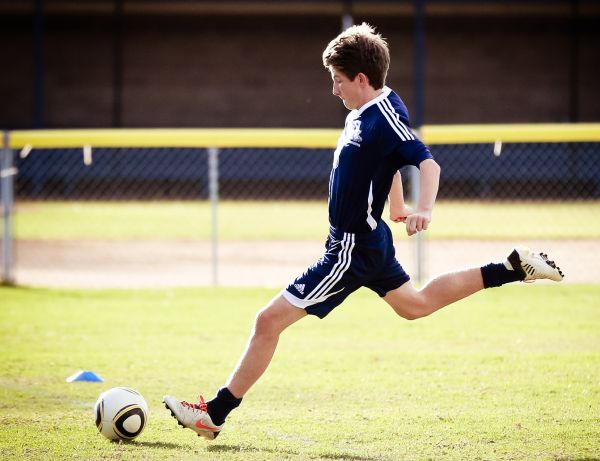
For soccer, the “money shot” is the shooter in full “back swing,” with the back leg fully extended, ankle cocked, with all of that energy ready to be unleashed on the opposition:
Step 6: KEEP THE SUN ON YOUR BACK
If you want the players to look their best, you need to find a spot where the sun is on your back, not in your face. The players in your pictures will look more vibrant when the sun is hitting them from behind you.
Check out the shadows in this picture:
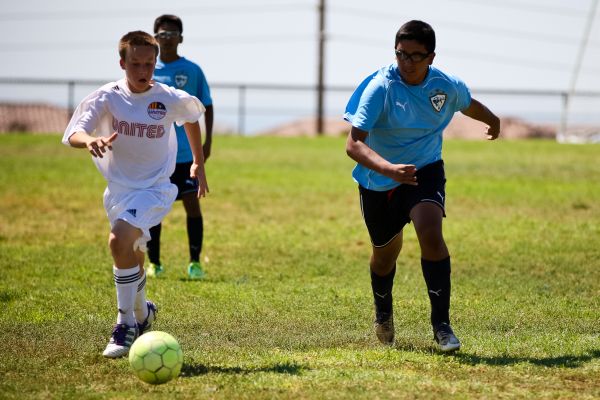
The grass, sky, and background are all brighter than the soccer boys.
Here’s a shot where the sun was to my side, instead of shining in my face:
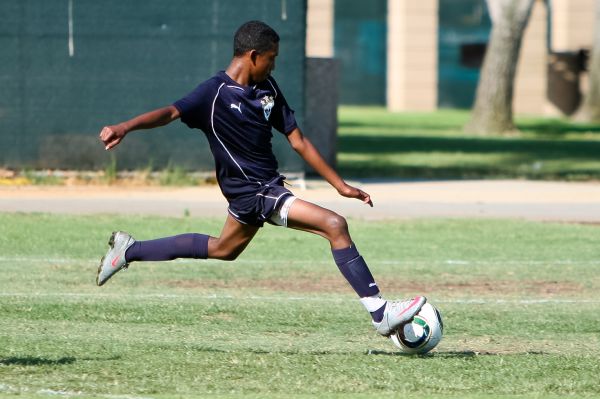
The player stands out much more when you have the light to your side or at your back.
Now get out there and create some great shots!

